This will be my last post before I go on my honeymoon. I managed to knock out a few more pieces to add to my travel wardrobe.
First, I made a Dahlia dress, using version 2 of the pattern.

It has some fit issues. I moved the strap points in too much and the straps don't cover my bra straps well. Also the armholes gape a bit. For next time I will probably re-cut out the bodice pattern pieces and grade it from an 18 to a 20. It is a very comfy dress though and the fabric was a dream to work with. The chambray was another part of Gertie's fabric collection ( found here .)
My second makes were 2 more Bristol skirts.

I have a bit of a love/hate relationship with this pattern. I love the way the dress feels wearing it, but sewing the waistband always gives me issues. My first time sewing the pattern, I ended up with a waistband that was too small for the dress by 4 inches and had to take in the back seam. I had a similar issue this time with the black floral skirt. Also, following the instructions as written, trying to stretch and sew the waistband is very frustrating. For the white skirt, I did the following method:
- Fold the waistband in half and baste it closed, leaving a 4 inch gap at the back seam.
- Attach the waistband to the skirt, except for the section you left unsewn
- Using the safety pin method, feed in the elastic and sew it together into a circle.
- Enclose the elastic completely in the waistband, and sew your gap shut, attaching it to the dress at the same time.
Following these steps, the waistband fit perfectly and it was also a far less frustrating process.
Additionally, I added a lining to the skirt using the following steps:
- Cut a second skirt from your lining fabric, omitting the pockets and the waistband.
- Sew the lining together by sewing the center panel directly to the skirt panels.
- After the outer skirt panels are all constructed, but before you attach the waistband, baste the lining to the outer skirt, wrong sides together. The lining will sit behind your pocket. When you attach the waistband, treat this all as one skirt piece.
- Trim the hem about 1" shorter than the outer fabric and hem as usual.
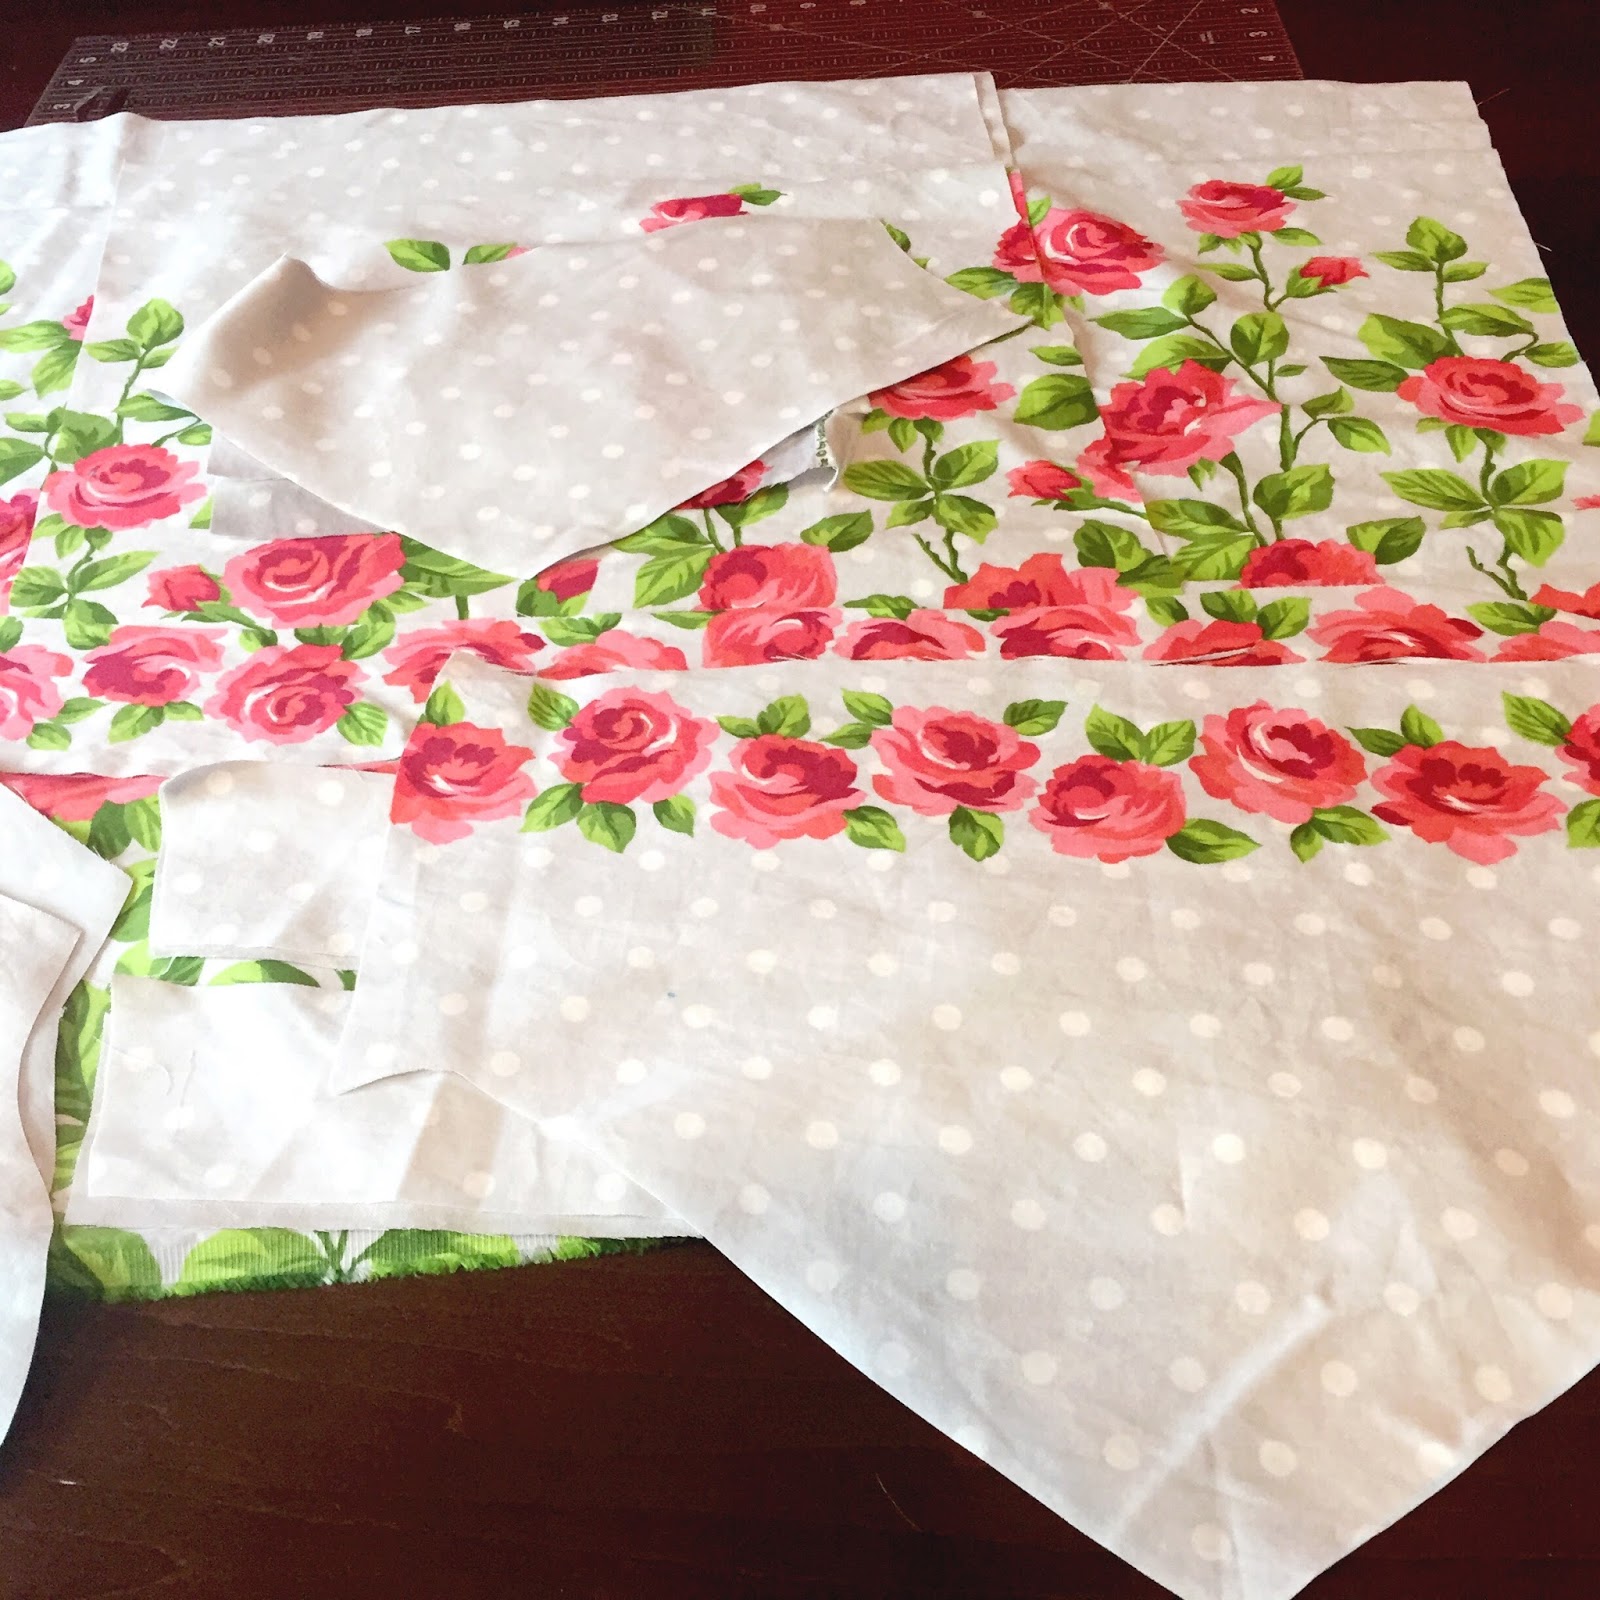
The fabric sources for these skirts were as follows: white version fabric and lining, black lawn version fabric.
The last piece I constructed was an Asaka Kimono by Named Clothing.

I had planned on making this after I got back, but decided I wanted something slinky to wear when lounging around the room. Probably not the best last minute project, but it feels so nice wearing it that I'm glad I did it anyways. Its made from poly charmeuse ( fabric here) which felt like I was sewing water for most of it. As a result, the collar and I had a disagreement, and since I didn't have any spare fabric this kimono is collarless. It likes to gape open at the top, but since I plan on wearing it over my pjs I'm not too concerned. I'll try this pattern again in the future, maybe springing for a true silk charmeuse next time.
And that's it, all my vacation sewing is done! I should have some nice sandy beach pictures next week :) Until next time, happy crafting everyone!