Showing posts with label Sewing. Show all posts

Friday, June 12, 2015

Crafted this week, vol 3


This will be my last post before I go on my honeymoon. I managed to knock out a few more pieces to add to my travel wardrobe. 

First, I made a Dahlia dress, using version 2 of the pattern.


It has some fit issues. I moved the strap points in too much and the straps don't cover my bra straps well. Also the armholes gape a bit. For next time I will probably re-cut out the bodice pattern pieces and grade it from an 18 to a 20. It is a very comfy dress though and the fabric was a dream to work with. The chambray was another part of Gertie's fabric collection ( found here .)

My second makes were 2 more Bristol skirts.


I have a bit of a love/hate relationship with this pattern. I love the way the dress feels wearing it, but sewing the waistband always gives me issues. My first time sewing the pattern, I ended up with a waistband that was too small for the dress by 4 inches and had to take in the back seam. I had a similar issue this time with the black floral skirt. Also, following the instructions as written, trying to stretch and sew the waistband is very frustrating. For the white skirt, I did the following method:

  1. Fold the waistband in half and baste it closed, leaving a 4 inch gap at the back seam.
  2. Attach the waistband to the skirt, except for the section you left unsewn
  3. Using the safety pin method, feed in the elastic and sew it together into a circle.
  4. Enclose the elastic completely in the waistband, and sew your gap shut, attaching it to the dress at the same time.

Following these steps, the waistband fit perfectly and it was also a far less frustrating process.

Additionally, I added a lining to the skirt using the following steps:
  1. Cut a second skirt from your lining fabric, omitting the pockets and the waistband.
  2. Sew the lining together by sewing the center panel directly to the skirt panels.
  3. After the outer skirt panels are all constructed, but before you attach the waistband, baste the lining to the outer skirt, wrong sides together. The lining will sit behind your pocket. When you attach the waistband, treat this all as one skirt piece.
  4. Trim the hem about 1" shorter than the outer fabric and hem as usual.

The fabric sources for these skirts were as follows:  white version fabric and lining, black lawn version fabric.

The last piece I constructed was an Asaka Kimono by Named Clothing.

I had planned on making this after I got back, but decided I wanted something slinky to wear when lounging around the room. Probably not the best last minute project, but it feels so nice wearing it that I'm glad I did it anyways. Its made from poly charmeuse ( fabric here) which felt like I was sewing water for most of it. As a result, the collar and I had a disagreement, and since I didn't have any spare fabric this kimono is collarless. It likes to gape open at the top, but since I plan on wearing it over my pjs I'm not too concerned. I'll try this pattern again in the future, maybe springing for a true silk charmeuse next time.

And that's it, all my vacation sewing is done! I should have some nice sandy beach pictures next week :) Until next time, happy crafting everyone!


Monday, June 8, 2015

The Near Disaster Aster


Sometimes the surest way to success is having faith in your assessment of a situation regardless of what someone or something else is telling you. I feel that my self confidence levels are improving simply because I can step back and do that.

It started simple enough. On Saturday I made a muslin to check the fit of the new Colette Aster pattern ( which I love by the way) and while the darts fit nicely, I had to add a dart to the armhole, and move the shoulder seams in an inch, like I pretty much always do. Since it was just a muslin I skipped the yoke lining and everything sewed together nicely.

After making my pattern alterations, I sewed up this wearable muslin version, bias binding the armholes rather than adding sleeves.

The fabric is thin enough that I will need to wear a cami under it, and I knew I needed to take in the side seams more and raise the armholes for the next attempt, but all in all it was okay, until I looked at the back.

Somehow, the back piece was inside out.


It was a minor enough imperfection, since the fabric was identical on both sides, so I just chocked it up to an error on my part that I wouldn't make with a more obvious fabric. Or so I thought.

Cut to Sunday. This time I'm making version 3 of the pattern in this beautiful double gauze. I sew the yoke to the bodice back, the yoke lining to the bodice front pieces, attach the yokes together and...the back is inside out again. So, I rip it out, check the instructions, sew it again, and...same problem. So, before sewing it again I remember the definition of insanity* and take a good look at what I'm trying to do.

The bodice back with the yoke is correct, that much I know. So I look at the bodice front and the yoke lining. I check the instructions and sure enough they match. But, sewn this way it always ends up wrong. So, trusting my instincts, I detach the yoke lining from the front pieces and sandwich it together with the bodice back the correct way, basting slowly and checking it twice before finishing the seams because at this point I hate my seam ripper, and the gauze probably can't take much more abuse.

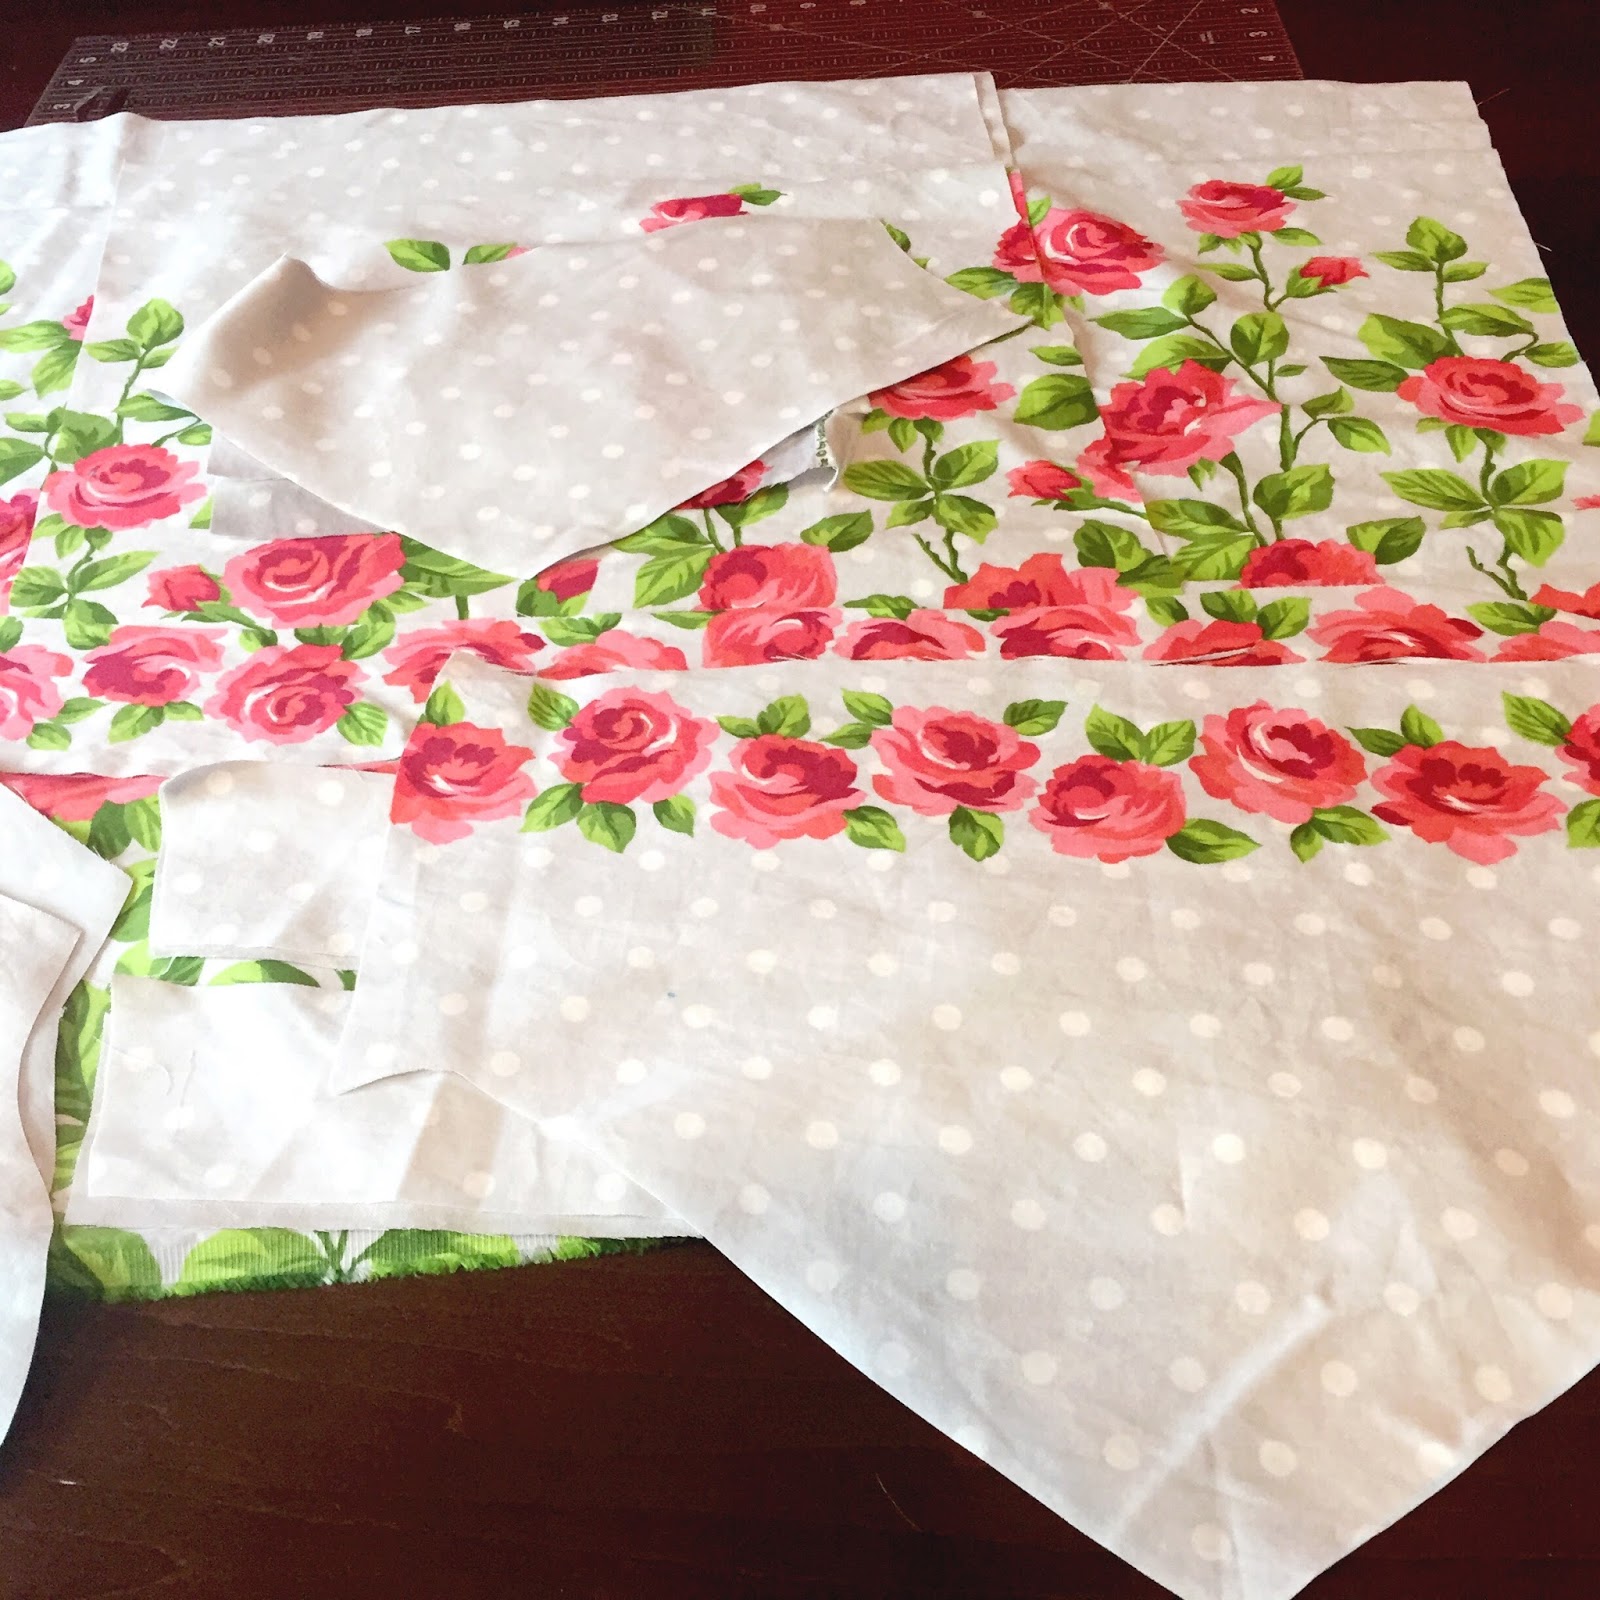
I checked the file on the site after and it turns out I was using an incorrect version of the pattern instructions. So, if when you're assembling the pattern, if your yoke lining + bodice fronts look like this, do yourself a HUGE favor by going to the site and downloading the new version. Don't suffer the seam ripper like I did.


Despite the frustrations though, it really is a lovely pattern. I'm enjoying the gauze shirt right now. My sleeves ended up a little poofy because I didn't size down the sleeves when I did my other alterations, but I don't mind it too much.


Fabric sources: white linen top, gauze top.

* Insanity = doing the same thing over and over and expecting a different result.

Sunday, June 7, 2015

Crafted this week, vol 2


Story time everyone.

Hubby and I are headed on a tropical honeymoon next week -- I'll be sure to post pictures when we get back!. Neither of us are particularly equipped wardrobe wise for tropical weather, so a few weeks ago we took a trip to Tommy Bahamas. Hubby spent an hour or so and this really lovely sales woman who reminded me of a red headed Judy Greer helped him get a full vacation wardrobe. It cost way more than I even want to think about, but the clothes really are lovely and made of nice breathable fabric that hubby has been enjoying ever since. Then, we're getting ready to check out, and she turns to me and says:

"Oh, we should get you set up too!"

"I don't think anything here will fit me," I reply, grimacing.

"Oh, well, we have some lovely cover ups, and, um, some hats," she replys, and then goes to ring up the hubby's clothes.

Moments like that are why I sew. I am not a very big girl. I'm curvy, but if I go to a true plus size store, like Lane Bryant, I am at the low end of the size range. At Torrid, where the arbitrary numbers are designed to make us curvy girls feel better, I am usually a size 0. Yet, if I every have to cross through a Nordstrom or Belk on my way into the mall, I try not to look too much at the clothes because I long ago learned that anything that might catch my eye would just lead to heartache when I realize I'm about 2 sizes larger than the largest size they offer.

Now, I make about 2/3rds of my clothes. I still buy some clothing from Old Navy, since their size ranges are much more forgiving and I still like their knit tops and pajama pants. And my underthings I still buy from department stores ( although I did make one bra from the Craftsy bra making course, and will probably make more once I'm back from my honeymoon. The cost of materials to make one turns out to be cheaper than the ones I buy at Lane Bryant). Other than that, I wear at least one hand made piece of clothing a day.

So, knowing that we would be traveling soon, just after the wedding I bought some lightweight fabric in light colors that I would ordinarily NEVER wear, and got cracking at making my own holiday wardrobe. This week alone I made 2 dresses, 3 shirts, and 2 pairs of shorts. I still have 2 skirts and 1 more dress I plan on finishing before we leave next week. So, here are some of the fruits of my labors

Clockwise: Seamworks Adelaide dress (fabric),  Colette Myrtle dress (fabric), Closet Case Files Carolyn Shorts (fabric), Bluegingerdoll Abby top (fabric).

My consolation is that my shorts cost me about $12 to make. The pants hubby bought made of pretty much the same fabric cost 10x that!


As for the Amy Butler top I had planned, the muslin I made had way too many problems for me to want to deal with before my honeymoon. I'll revisit it sometime before the end of the summer.

No post next Sunday, as I will be on holiday. However, look for a post tomorrow to make up for the week I missed, and if I'm feeling productive I'll do one last roundup of the pieces I finish before I leave. Until then, happy crafting everyone!

Sunday, May 31, 2015

Border Print Hazel

Work travel prevented me from doing much sewing this week, as well as getting a post in on time last Sunday. Look for a post later this week as a peace offering.
One thing I pride myself on is the ability to learn from my mistakes. The Colette Hazel pattern is one I've used three times now, and I think this is the first time I got it right. My straps were way off on my first attempt a couple of years ago. And the version I sewed last summer still had bust fitting issues. But, now armed with the knowledge I need to do a Low Bust Adjustment, this time it fits much better.


The fabric is a border print cotton sateen I picked up from Joann Fabric, part of the Gertie fabric collection. Confession: when I saw her fabric line, I snapped up a few yards of most of the patterns without much thought to what I would use it for (some impulse buy shoes, I buy fabric. It's a problem.) This fabric, however, I knew immediately I wanted to use to make a Hazel. I wasn't happy the first two times I tried the pattern, but I knew this fabric would make for a gorgeous version of the dress once I ironed out the final fit issues. My pattern pieces already had the FBA alterations I made a few years ago, so all I needed to do was shift the bust dart down a couple of inches and I was good to go.

I highly recommend this pattern to any of you busty girls like me out there. The straps are nice and wide to hide any bra straps that would show on a normal summery dress, and the princess seam on the front bodice is very forgiving. It is one of their older patterns though, so it only goes to a size 18, so bear that in mind.

My only real problem with the problem is the front facing. If you interface it, it looks really weird, and worse, feels uncomfortable lying against your chest. I ended up trimming it down to a half inch and then top-stitching it down the first couple of attempts on this pattern, but I didn't want any stitching along those beautiful roses in the front. I omitted the interfacing this time around, which helped, but the facing still kept rolling up half an inch above my bust line all day when I wore it. I plan on carefully catch stitching it down and will report back on how it works out. If anyone is reading this, and has any suggestions on how to fix this problem with the pattern, please let me know.

Next on my list: the Amy Butler Mini Dress.


Sunday, May 10, 2015

Crafted this week, vol 1


My Adelaide muslin is still in the muslin stage, so I won't have anything to show until next week.
Wedding preparations came first. I did manage to make a few things this week though.

First, I tried out a recipe from the book Mug Cakes:

One of the recipes is for a Blueberry Muffin. I made it pretty much as is, except I substituted strawberries for the blueberries.


The strawberries melted more than I think blueberries would, but all in all it tasted pretty yummy!

Second, I made sconces for the reception from wine bottles:


I will do a more detailed post in the future on how I made these. (Edit: tutorial found here.)

Last, I made a purse to go with my dress out of my remaining fabric.


I'll show more of this when I document my wedding dress in the coming weeks.

All in all it was a pretty productive week!

Sunday, May 3, 2015

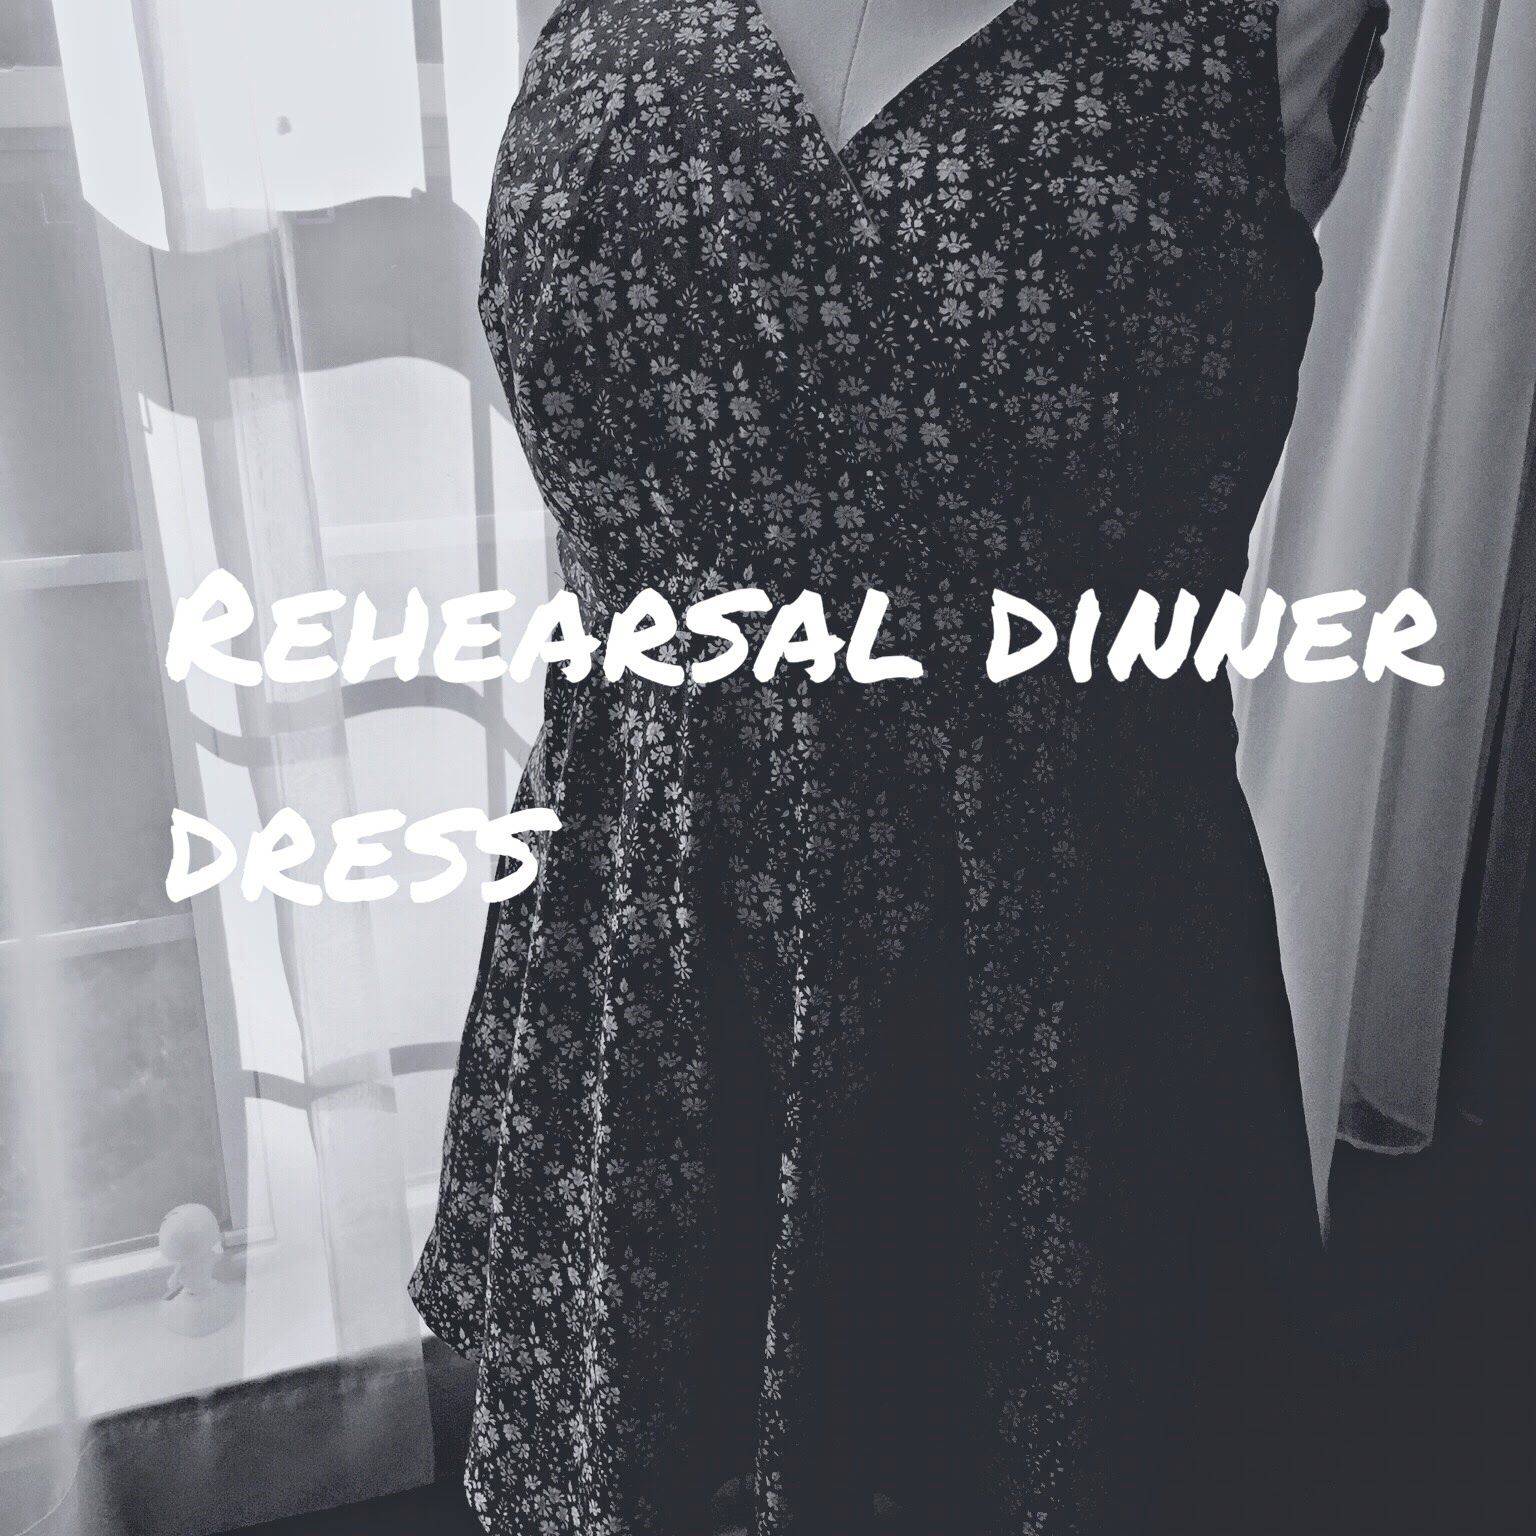
Rehearsal Dinner Dress


I've learned a few things while working on this dress.

1) When a pattern calls for 60" wide fabric, sometimes 56" wide doesn't cut it.
2) In the course of the 4 (four!) muslins I made for the top, I learned I should've been doing something called a Low Bust Adjustment this entire time.
3)Even with setbacks, everything seems easier after spending 2 months hand stitching a wedding dress.

For my dress pattern, I chose the Flora dress pattern from By Hand London. Then I ordered this absolutely gorgeous Liberty Tana Lawn.
Unfortunately, the main skirt front panel didn't fit on the fabric. So, I had my own "make it work" moment. The knife pleats in the front were the perfect place to hide a seam. So, I split the panel into 2 pattern pieces and stitched the main panel together before following the rest of the instructions.


The seam isn't noticeable at all and the skirt seems to drape fine with it there.
All in all I think it turned out well. I even hand stitched the hem, something I never would've done before making my wedding dress.

I even added pockets!


The rehearsal is next week so it will be a bit before I can post some pictures of the dress in action. In the meantime, I have a few more projects I plan to knock out before the wedding. Next on my list: the Adelaide dress. 3 hours to make a dress? Sign me up!


Thursday, June 7, 2012

Project #4: iPad Case


After I made my new purse, I wanted a new case for my iPad as well. I followed this pattern for the slipcase, but I added about 4 inches to the length of the main body so that the top would fold over more.


I also doubled the width of the pocket and folded it over so that it was lined. Before I folded it in half and sewed it, however, I added a piece of velcro to the pocket so that the stitching would be hidden. I stitched the opposite side of the velcro to the exterior fabric before stitching it to the lining fabric.


Other than that, I followed the tutorial pretty much exactly.


I made it a little too wide, so the iPad shifts around a little in the case, but for a first attempt I think it came out pretty well :)

Tuesday, May 29, 2012

Project #3: A New Purse!


So, almost a month ago now, I bought a new iPad. Unfortunately, the purse I had been using religiously for over a year is entirely too small for an iPad. So, there was only one thing for me to do :)

I purchased a limited edition kit from Charlie's Aunt. However, you can buy the pattern here and you can also buy some of the fabric at her site here.

All I needed to purchase was a yard of lining fabric and the interfacing. Here are the materials all laid out:

And then after I had cut out all of my pieces:

I didn't take too many pictures of the construction process. The pattern is exceptionally well diagrammed, so as long as you follow along well it is pretty simple to put together. The only adjustment I made was that I sewed the buttons to the flap before I stitched closed the side so that the stitching is hidden. Sewing buttons is still one of the things I'm messier at, so hiding my hand stitches is always preferred.

Here is the finished product, with plenty of room inside for my iPad. Also, you can see the coin purse I made before. It's been handy for keeping the purse organized.

Tuesday, May 15, 2012

Project #2: iPhone Case


The same day I worked on Project #1, I also completed this iPhone case. I actually did all of my cutting for both projects at once, and then sewed them one after the other. This worked relatively well too, since the Key Purse was a bit more intricate to put together, this was a nice relaxing project to finish with.

I purchased the pattern from Heart of Mary's Etsy shop. The pattern has a lot of pictures to follow along with so I didn't take any of my own of the construction process.

Here is another view of the finished product, showing the front with the button closure:

Project #1: Key Keeper Coin Purse


This weekend I started my quest to complete 27 crafty projects. I started with this Key Keeper Coin Purse. It's a small zippered case, large enough to fit your fist inside, so it's perfect for carrying little things, like keys and spare change.

The pattern for this case can be found in the book Amy Butler's Style Stitches: 12 Easy Ways to 26 Wonderful Bags. It is project 7 in the book, and the pattern for the main body and the lining is printed on some nice pattern paper in the pattern envelope included with the book. The directions are relatively simple, however there aren't any photos of the process and minimal diagrams, so I took a few pictures of the process as I put it together.

Here are the pieces all cut out:

And here are some photos of the pleating process ( Step 4 );


Eventually you will have both the interior and the exterior pleated and fabric bands added to the tops ( Steps 5-7 ):


Then a pocket will be added to one of the lining pieces ( Step 8 ):


Next the zipper is installed between the exterior fabric and the lining ( Step 9 ):


Finally the tab is attached and the sides of the purse sewn together ( Steps 10 - 12 ).


I pretty much followed the instructions exactly, except I added a D ring to the tab, since the D rings I had have to be sewn in rather than slipped on later.

I hope these images are helpful if anyone else tries to make this pattern :)