Sunday, May 10, 2015

Crafted this week, vol 1


My Adelaide muslin is still in the muslin stage, so I won't have anything to show until next week.
Wedding preparations came first. I did manage to make a few things this week though.

First, I tried out a recipe from the book Mug Cakes:

One of the recipes is for a Blueberry Muffin. I made it pretty much as is, except I substituted strawberries for the blueberries.


The strawberries melted more than I think blueberries would, but all in all it tasted pretty yummy!

Second, I made sconces for the reception from wine bottles:


I will do a more detailed post in the future on how I made these. (Edit: tutorial found here.)

Last, I made a purse to go with my dress out of my remaining fabric.


I'll show more of this when I document my wedding dress in the coming weeks.

All in all it was a pretty productive week!

Sunday, May 3, 2015

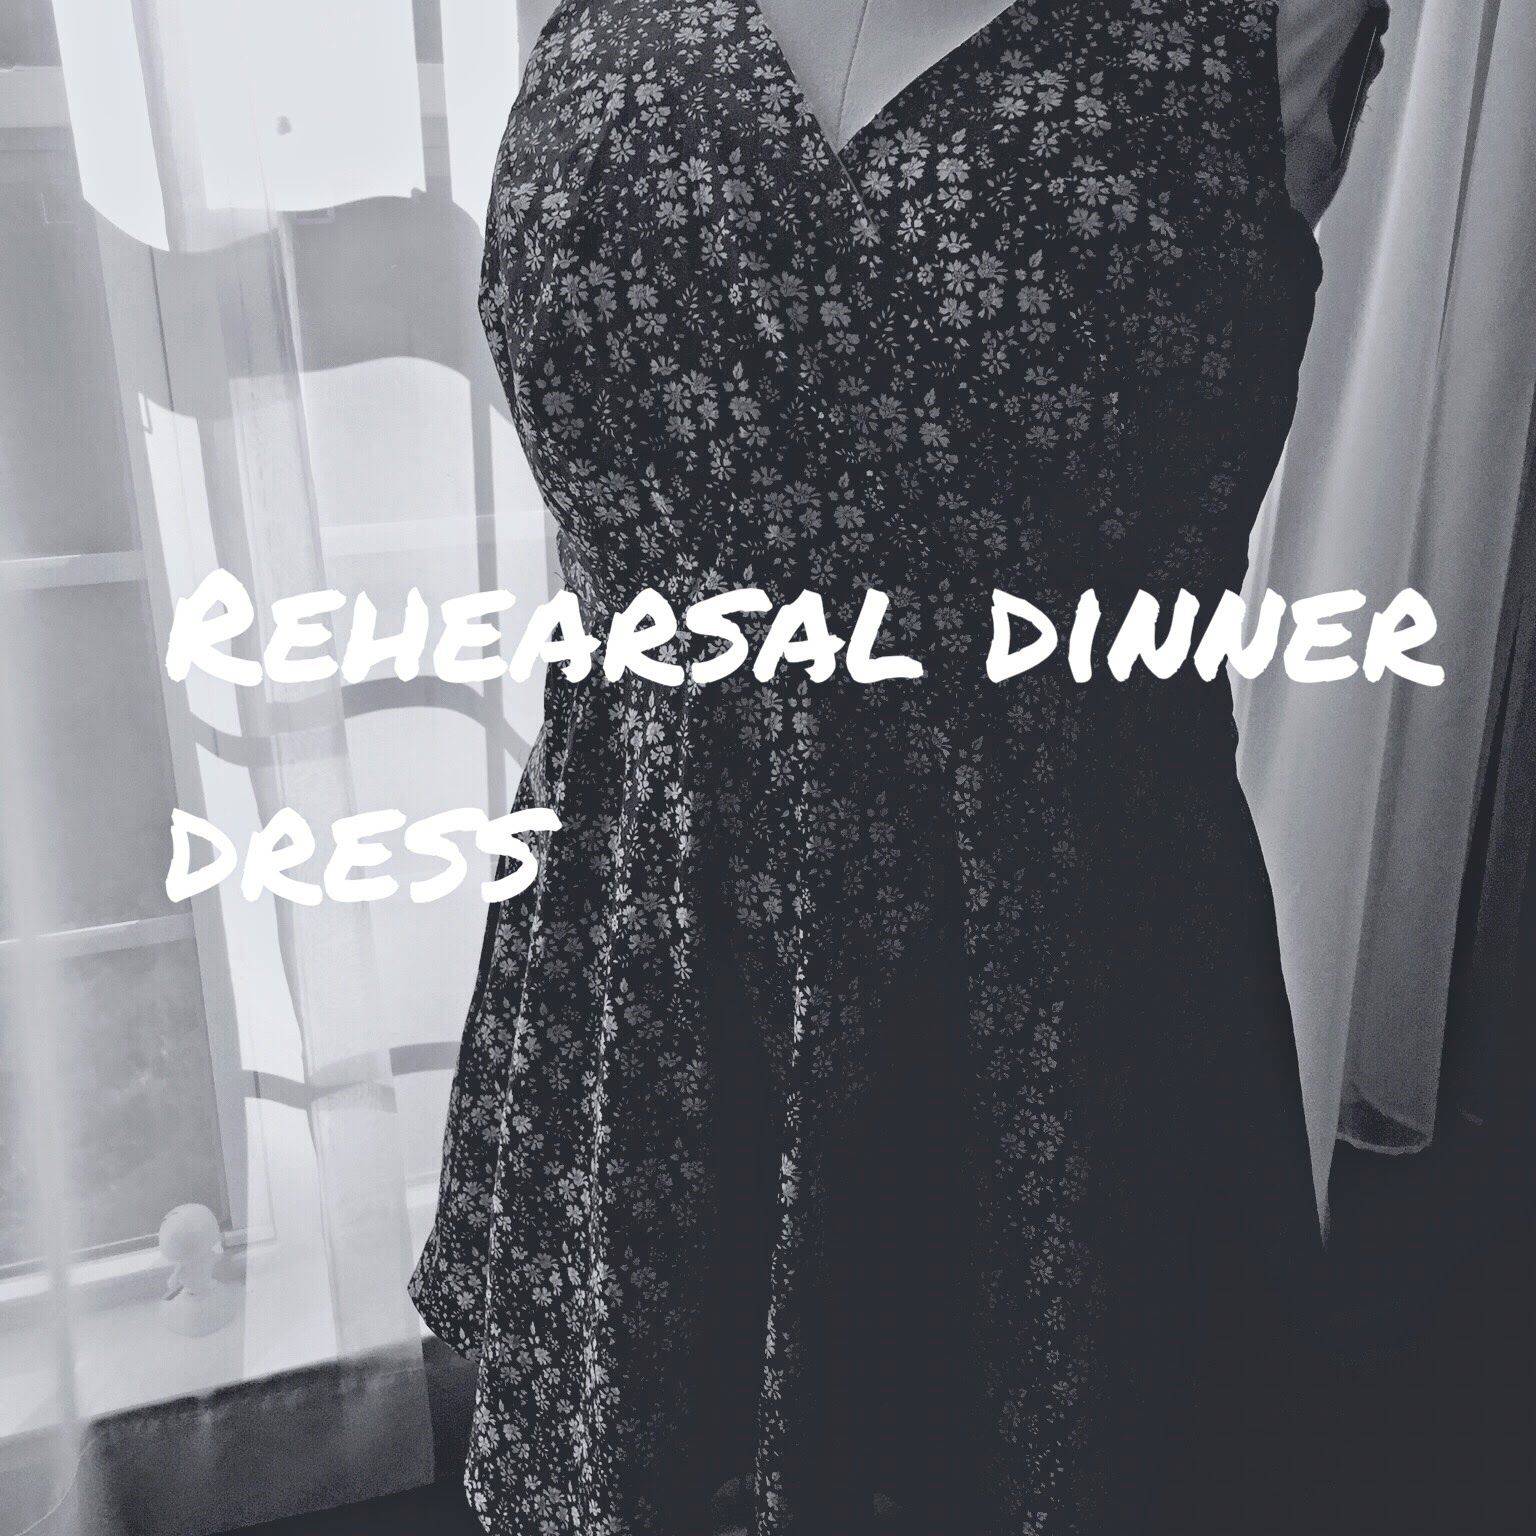
Rehearsal Dinner Dress


I've learned a few things while working on this dress.

1) When a pattern calls for 60" wide fabric, sometimes 56" wide doesn't cut it.
2) In the course of the 4 (four!) muslins I made for the top, I learned I should've been doing something called a Low Bust Adjustment this entire time.
3)Even with setbacks, everything seems easier after spending 2 months hand stitching a wedding dress.

For my dress pattern, I chose the Flora dress pattern from By Hand London. Then I ordered this absolutely gorgeous Liberty Tana Lawn.
Unfortunately, the main skirt front panel didn't fit on the fabric. So, I had my own "make it work" moment. The knife pleats in the front were the perfect place to hide a seam. So, I split the panel into 2 pattern pieces and stitched the main panel together before following the rest of the instructions.


The seam isn't noticeable at all and the skirt seems to drape fine with it there.
All in all I think it turned out well. I even hand stitched the hem, something I never would've done before making my wedding dress.

I even added pockets!


The rehearsal is next week so it will be a bit before I can post some pictures of the dress in action. In the meantime, I have a few more projects I plan to knock out before the wedding. Next on my list: the Adelaide dress. 3 hours to make a dress? Sign me up!


Tuesday, April 28, 2015

Let's try this again...

We all begin with good intent...

I vaguely remember starting this blog 3 years ago. Then, life, or fear stopped me from continuing, I honestly can't remember which.

Since the last time I wrote, I've moved to another state, gotten engaged, and will be married in just over two weeks. Also in that space of time, I have cooked, baked, and crafted a number of things and learned a lot along the way.

I think the best way to start on this blogging business is to set some standards for myself. Since I have a tendency to do too much, I will go against my usual pattern and start small.

So, going forward, I will post once a week on Sundays. Until I get into a groove the posts may be a bit scatterbrained at first, but I do have some ideas and one big project that I can share -- my wedding dress!

So, if anyone is reading this (and I hope someday someone might ), be gentle and bear with me as I figure all of this out.

~Andrea

Thursday, June 28, 2012

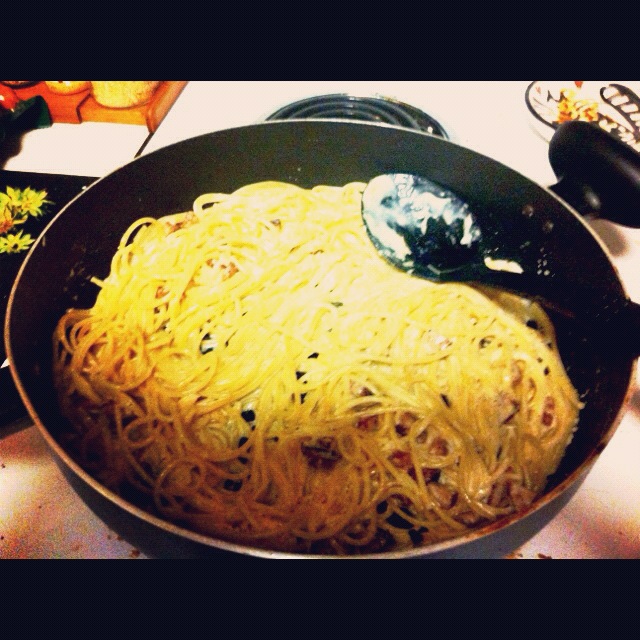
Recipe Week 4: Pasta Carbonara


I'm still playing catch up a bit. I made this recipe a couple weeks ago. It was a pretty easy weeknight dinner, and reminded me a bit of homemade mac n' cheese.


It is pretty simple to make. You start with fresh pasta.


Then, cook some diced pancetta in a pan with oil and add it to the pasta.

The cheese sauce is made from a rich, heavy cream, freshly grated Parmesan cheese, and egg, all whisked together.


Finally, the sauce is added to the pan and cooked on low heat, otherwise the egg will scramble.


All in all, this is a very easy weeknight meal. I got about 4 servings worth out of the batch.

Recipe is found here on Spoon Fork Bacon's website. While you're there, poke around a bit, they have a nice selection of both savory and sweet dishes, and many of them are Asian recipes you can make at home.

Sunday, June 24, 2012

Recipe Week 3: Cookie Dough!


So, while I have been good about trying new recipes, I'm still getting into the swing of blogging about them every week. Brace yourselves for a bit of backlog.

I had preordered this book when it came out and, as the name suggests, it is chock full of decadent cookie goodness.

So, to branch out from Joy the Baker for a bit, I tried the most basic recipe in this book: cookie dough.

This cookie dough is a little different than what I'm used to. The is no egg, no baking powder or soda. It is not meant for baking, it is meant for eating. Which is pretty much the most amazing thing ever.

It is a pretty simple formula that anyone who bakes cookies would be familiar with: cream butter, add sugar, add dry goods, add chocolate chips. The recipe normally yields about 1 1/2 cups. Not wanting to eat all that myself, I cut the recipe in half ( and still ended up with 1 cup of it. I think my division skills have deteriorated ).


I split it up into 2 containers, ate one and put the other in the freezer. I've found it tastes better out of the freezer -- it has more of the consistency of cookie dough you buy in a tube. Also, although the recipe says you can eat it immediately, you really should chill it a bit first, it tasted a bit off to me until it had some time in the fridge.


Below are my alterations to the recipe -- enjoy!

Eggless Chocolate Chip Cookie Dough
(adapted from The Cookie Dough Lover's Cookbook, by Lindsay Landis,  pg 12 )

Makes about 1 cup

1/4 cup butter
1/8 cup granulated sugar
1/4 cup packed light brown sugar
1 tbsp milk
1/4 tsp vanilla extract
1/2 cup + 1/8th cup all purpose flour
1/8 tsp salt
1/4 cup mini chocolate chips ( or add more, like I did. Chocolate chips aren't meant to be measured )

1) Cream butter in an electric mixer.
2) Add sugars to the butter and mix for a couple minutes until fluffy.
3) Add in milk and vanilla and mix until incorporated.
4) Mix flour with salt, and then slowly add this to the batter with the mixer running, tapping it in until it is all incorporated.
5) Stir in chocolate chips by hand. Transfer to a container and chill for about half an hour before eating ( or you can eat it immediately, but it might taste a bit funky ).

Dough will last 3 days in the fridge. I had it in the freezer for about a week with no ill effects.

Thursday, June 7, 2012

Recipe Week 2: Lemon, Lime & Thyme Cookies


For my next recipe, I tried another Joy the Baker recipe ( I'll branch out to another author next week, I swear! ). This one is from her cookbook on page 190.


The recipe is basically a shortbread recipe with a little bit of fanciness added. The first unique bit is that the sugar is changed to citrus sugar by rubbing in lemon and lime zest.


Next you cream the butter in an electric mixer.


Then, add in the sugar and some thyme.


Once the rest of the dough is mixed together, roll the dough in wax paper. The recipe says to chill at least 3 hours to overnight. I made mine a couple days ahead of time.

Once you're ready to bake them, you just roll out the dough and cut out the cookies. Simple!


These cookies are slightly sweet and go great with a big glass of milk. They were definitely a hit with my family :)

Project #4: iPad Case


After I made my new purse, I wanted a new case for my iPad as well. I followed this pattern for the slipcase, but I added about 4 inches to the length of the main body so that the top would fold over more.


I also doubled the width of the pocket and folded it over so that it was lined. Before I folded it in half and sewed it, however, I added a piece of velcro to the pocket so that the stitching would be hidden. I stitched the opposite side of the velcro to the exterior fabric before stitching it to the lining fabric.


Other than that, I followed the tutorial pretty much exactly.


I made it a little too wide, so the iPad shifts around a little in the case, but for a first attempt I think it came out pretty well :)