Sunday, May 31, 2015

Border Print Hazel

Work travel prevented me from doing much sewing this week, as well as getting a post in on time last Sunday. Look for a post later this week as a peace offering.
One thing I pride myself on is the ability to learn from my mistakes. The Colette Hazel pattern is one I've used three times now, and I think this is the first time I got it right. My straps were way off on my first attempt a couple of years ago. And the version I sewed last summer still had bust fitting issues. But, now armed with the knowledge I need to do a Low Bust Adjustment, this time it fits much better.


The fabric is a border print cotton sateen I picked up from Joann Fabric, part of the Gertie fabric collection. Confession: when I saw her fabric line, I snapped up a few yards of most of the patterns without much thought to what I would use it for (some impulse buy shoes, I buy fabric. It's a problem.) This fabric, however, I knew immediately I wanted to use to make a Hazel. I wasn't happy the first two times I tried the pattern, but I knew this fabric would make for a gorgeous version of the dress once I ironed out the final fit issues. My pattern pieces already had the FBA alterations I made a few years ago, so all I needed to do was shift the bust dart down a couple of inches and I was good to go.

I highly recommend this pattern to any of you busty girls like me out there. The straps are nice and wide to hide any bra straps that would show on a normal summery dress, and the princess seam on the front bodice is very forgiving. It is one of their older patterns though, so it only goes to a size 18, so bear that in mind.

My only real problem with the problem is the front facing. If you interface it, it looks really weird, and worse, feels uncomfortable lying against your chest. I ended up trimming it down to a half inch and then top-stitching it down the first couple of attempts on this pattern, but I didn't want any stitching along those beautiful roses in the front. I omitted the interfacing this time around, which helped, but the facing still kept rolling up half an inch above my bust line all day when I wore it. I plan on carefully catch stitching it down and will report back on how it works out. If anyone is reading this, and has any suggestions on how to fix this problem with the pattern, please let me know.

Next on my list: the Amy Butler Mini Dress.


Sunday, May 17, 2015

Wine Bottle Sconces


When we were planning our wedding, I read a ton of wedding blogs. Included in this was this awesome article from Wedding Party that just inspired me. So, I asked my now father-in-law and the hubby's best man to stockpile wine bottles for me. Then, a couple weeks ago I gathered them all up and got to cracking on transforming them into the pretty things you will see in these pictures.

So, if you want to make these yourself, the first step is to get all those pesky labels off of the bottles. First, loosen them up by soaking them in a sink full of soapy water for a few hours. If you're lucky, the labels will peel right off. I found that Barefoot wine bottles were particularly good about this. In fact, at every step their bottles were great to work with, so, I would highly recommend using those if attempting this project.

Now, if the labels don't want to come off, and most of them won't, it's time to scrub. First, I used a pan scraper to get the rest of the paper off. Then, to get the remaining glue spots, I used Goo Gone. It smells nice and lemon-y and works wonders.

Okay, so now you should have some clean bottles. The next step is to get the bottoms cut off. For this you will need the following:

1 bottle cutting kit
1 deep stock pot of water
1 deep bowl full of ice water
heat resistant gloves, or canning tongs

Follow the instructions for the kit to score the bottles. Next, get the stock pot boiling and then scale it back to a simmer. Make sure the ice bath is ice cold.

Dip a scored bottle into the hot water, just covering the score line. Hold for 5 seconds. Switch the bottle to the ice bath, being careful not to touch the bottle on the sides of the pot or the ice bath. Hold for 5 seconds. Continue switching back and forth until the bottle breaks along the score line.

While making my centerpieces, I found the following to be true:

1) Thinner, flat bottom bottles work best
2) The bottles only break evenly if the hot water is just below boiling and the ice bath is significantly cold.
3) Using the tapper included in the kit will more often than not make the bottle splinter outside the line, so it should only be used if the bottle is well cracked along the line but won't quite break off.

If the bottles are thin and the temperatures are optimal, you should hear the cracks forming along the score line after only a few dips. With any luck, it will break cleanly in two places. Then, use the enclosed sandpaper to soften the broken edge.

Now, at this point you have perfectly usable sconces. However, if you want to dress them up a little bit you can buy a glass etching cream kit.

Before using the kit on the bottles, clean them with rubbing alcohol. Windex leaves a film on the bottles that interferes with the etching cream, so rubbing alcohol is best.

Next, pick out your stencils and put them on the bottles, taping around the edges with painters tape:

Then follow the directions for the cream to apply it to the bottles. Wait the appropriate amount of time and then rinse the bottles off. You will want to rinse into a plastic bin if you have a porcelain sink, as the acid in the cream is damaging to porcelain.

And you're done! Just clean them up a bit, stick them over some electric tea lights and you're good to go.


Wedded Bliss

I'm sitting in my office staring at my beautiful bouquet and the remnants of the flowers from our reception, and I'm astounded at how much of a weight lifts once the festivities are done. The last of our house guests have gone home, the cake is in the freezer, and the dress I spent so long stitching is hanging in the closet while I wait for a preservation kit to come in the mail. It's all done. Sure, there will be thank you cards to write, but I no longer have to worry about place cards and menus, centerpieces and garters. The biggest event of my life has come and gone, and now I can just enjoy my new husband and the peace and quiet in our house.

It's always strange to me, the ending of things. It leaves a void that I often struggle to fill. I have half a wardrobe of clothes I want to make before our Caribbean honeymoon, but nothing will be as time consuming of the various projects I completed for the wedding. Until we have a child of our own getting married decades from now, this will be the last big event for us. And, honestly, that's perfectly okay with me. Hubby and I will be perfectly content not to experience this level of stress any time soon.

In the next few weeks I'll be posting bits and pieces from the projects I took on for my wedding, including my dress. Until then, I intend to relax as much as possible.

Sunday, May 10, 2015

Crafted this week, vol 1


My Adelaide muslin is still in the muslin stage, so I won't have anything to show until next week.
Wedding preparations came first. I did manage to make a few things this week though.

First, I tried out a recipe from the book Mug Cakes:

One of the recipes is for a Blueberry Muffin. I made it pretty much as is, except I substituted strawberries for the blueberries.


The strawberries melted more than I think blueberries would, but all in all it tasted pretty yummy!

Second, I made sconces for the reception from wine bottles:


I will do a more detailed post in the future on how I made these. (Edit: tutorial found here.)

Last, I made a purse to go with my dress out of my remaining fabric.


I'll show more of this when I document my wedding dress in the coming weeks.

All in all it was a pretty productive week!

Sunday, May 3, 2015

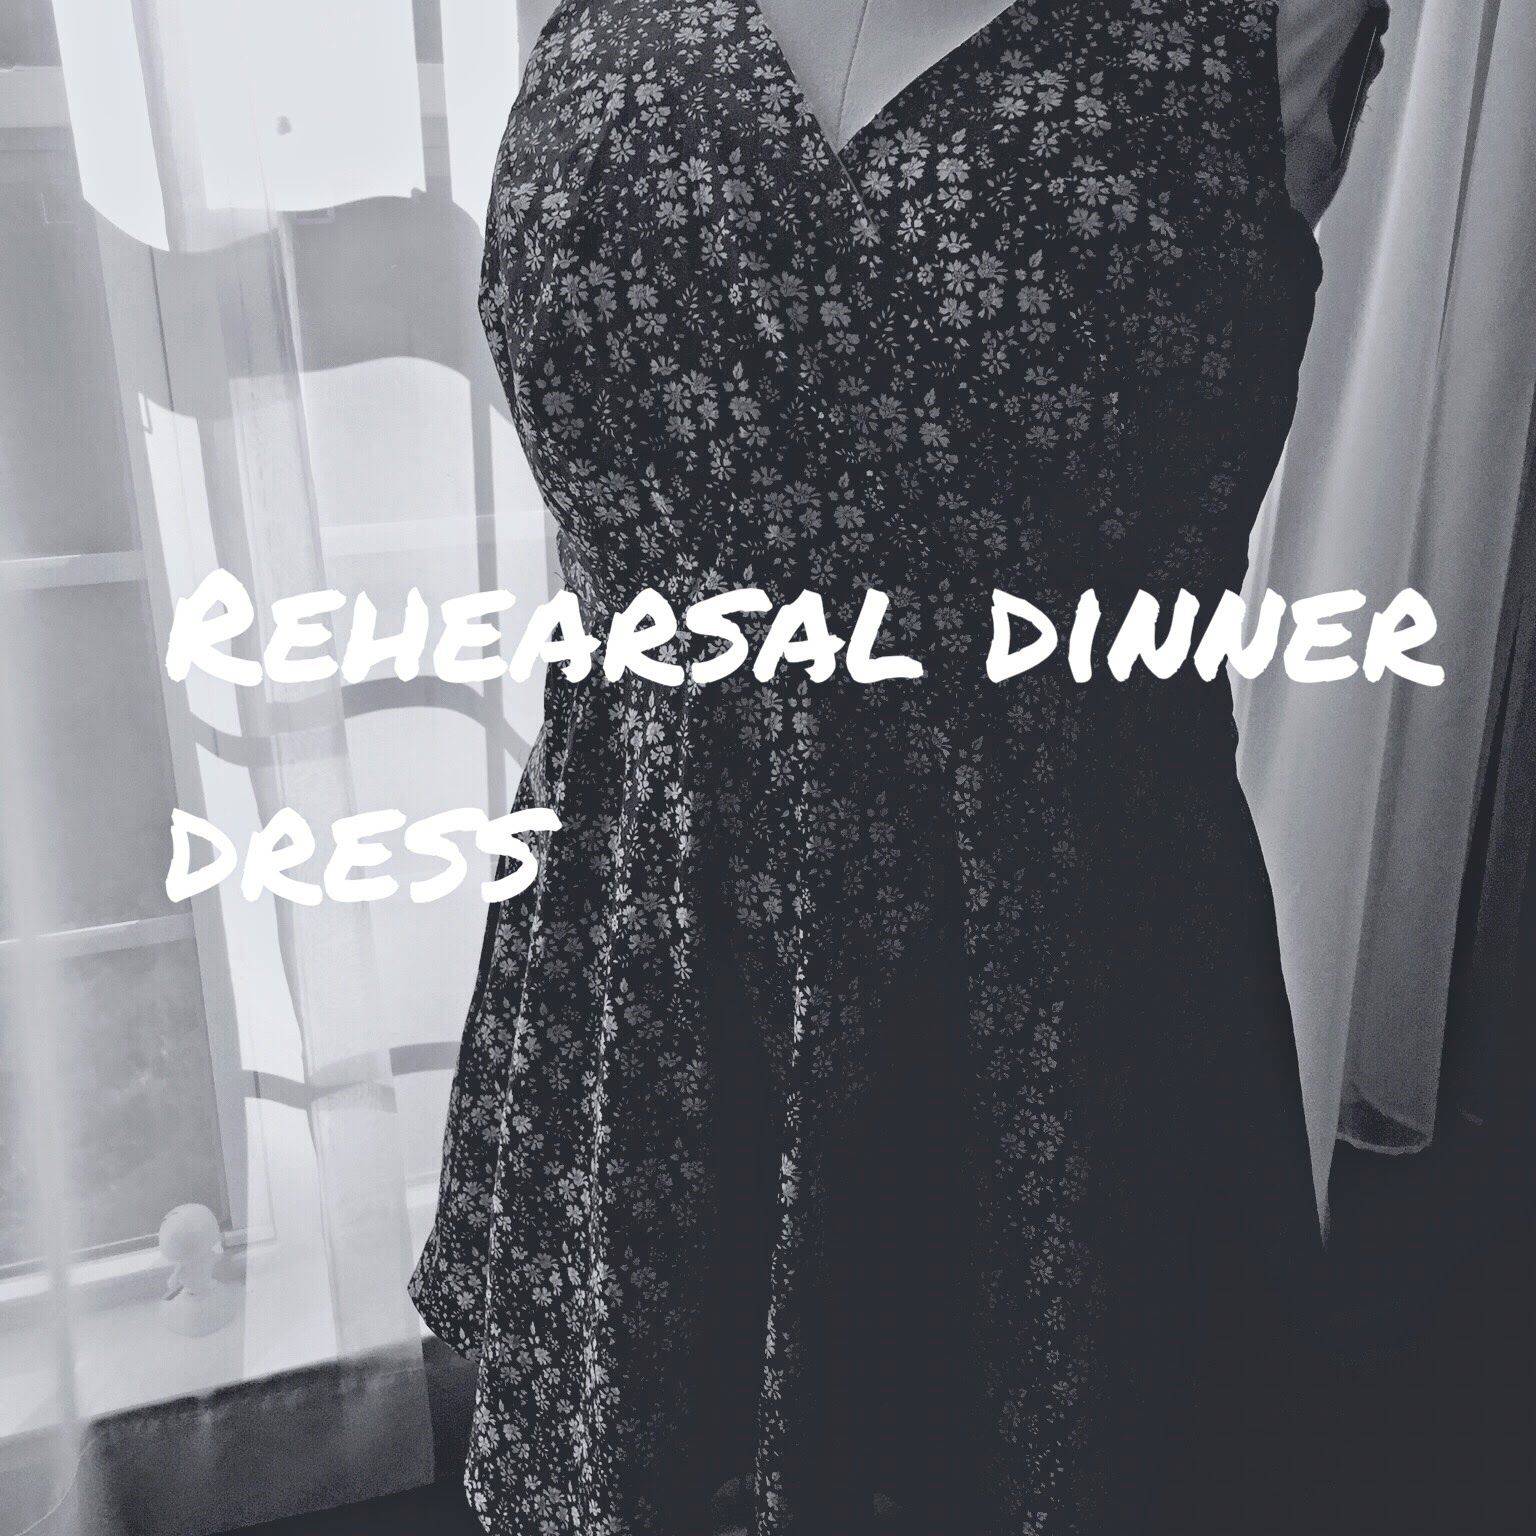
Rehearsal Dinner Dress


I've learned a few things while working on this dress.

1) When a pattern calls for 60" wide fabric, sometimes 56" wide doesn't cut it.
2) In the course of the 4 (four!) muslins I made for the top, I learned I should've been doing something called a Low Bust Adjustment this entire time.
3)Even with setbacks, everything seems easier after spending 2 months hand stitching a wedding dress.

For my dress pattern, I chose the Flora dress pattern from By Hand London. Then I ordered this absolutely gorgeous Liberty Tana Lawn.
Unfortunately, the main skirt front panel didn't fit on the fabric. So, I had my own "make it work" moment. The knife pleats in the front were the perfect place to hide a seam. So, I split the panel into 2 pattern pieces and stitched the main panel together before following the rest of the instructions.


The seam isn't noticeable at all and the skirt seems to drape fine with it there.
All in all I think it turned out well. I even hand stitched the hem, something I never would've done before making my wedding dress.

I even added pockets!


The rehearsal is next week so it will be a bit before I can post some pictures of the dress in action. In the meantime, I have a few more projects I plan to knock out before the wedding. Next on my list: the Adelaide dress. 3 hours to make a dress? Sign me up!